Generate configuration tokens.
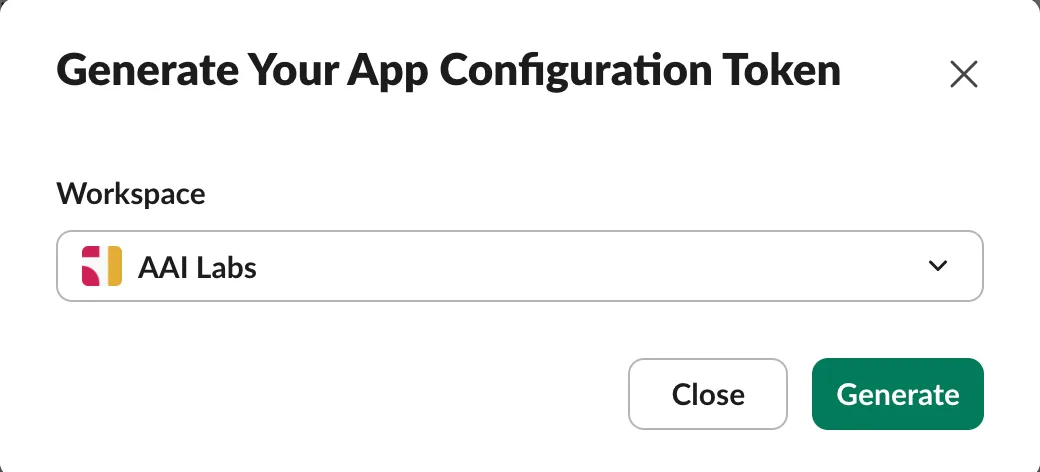
These workspace-level tokens let Agent Barn prepare a new Slack app. Generate both values and keep them ready for the next steps.
- 01.1
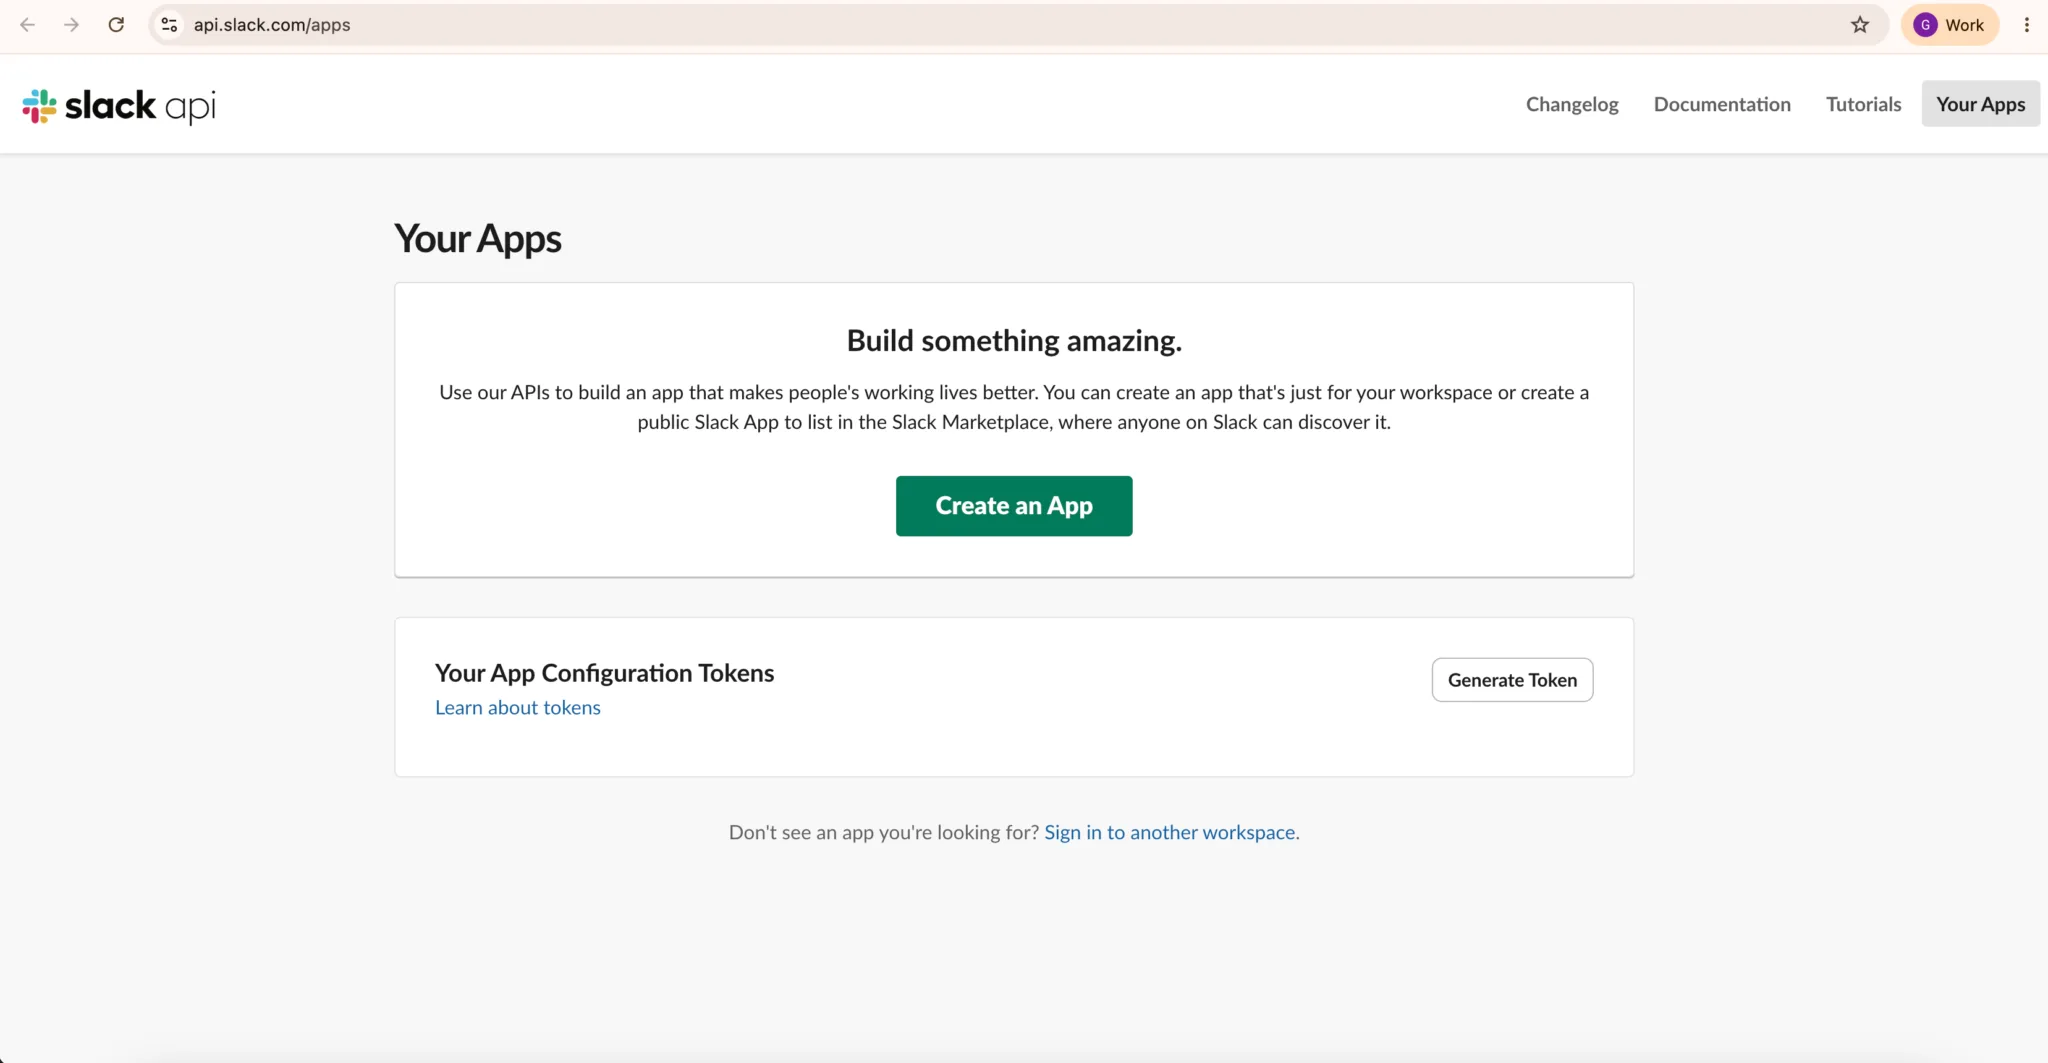
Open Slack API → Your Apps.
Go to api.slack.com/apps ↗, sign in, and confirm that you are working in the workspace where this agent should operate.
- 01.2
- 01.3
- 01.4
Store both values securely.
The access token authorizes app creation and expires after 12 hours. The refresh token rotates that access. Never place either value in chat, logs, prompts, or URLs.
- 01.5
Submit the token pair in Agent Barn.
Paste the configuration access token and
xoxe-refresh token into their matching fields, then continue while the access token is still valid.
Define the bot identity.
Use recognizable, role-oriented metadata. These values are visible to teammates and can be changed later.
- 02.1
Choose the display name.
This name appears in Slack messages, mentions, and the app directory. Avoid secrets, environment names, or workspace-specific data.
RECOMMENDEDAgentBarn_Scrum_Master - 02.2
Write a one-sentence description.
Describe the outcome teammates can expect rather than the implementation behind it.
SUGGESTEDRuns sprint ceremonies, tracks blockers, and keeps the team on cadence in Slack.
- 02.3
Choose the icon background color.
Pick a readable color that follows your workspace convention. Agent Barn orange is the recommended default.
Aubergine#511152A familiar Slack-adjacent choice.
Blue#1264A3Calm and conventional for utility bots.
Green#2EB67DUseful for workflow or status-oriented agents.
Amber#ECB22EHigh visibility for reminders and alerts.
Agent Barn orange#CC4400Recommended for a consistent Agent Barn identity.
- 02.4
Review the public metadata.
Confirm that the name states the role, the description states the result, the color remains legible at small sizes, and no sensitive information is exposed.
- 02.5
Create the app and confirm it appears in Slack.
Save the identity in Agent Barn, complete app creation, then confirm the new app appears under Your Apps in the intended workspace before continuing.
Connect the new Slack app.
Create the app-level token, install the bot, and store the two resulting credentials that Agent Barn needs.
- 03.1
Select the new app and verify its connection settings.
Return to Your Apps ↗, open the app created for this recipe, verify the workspace, and confirm Socket Mode and the recipe's event subscriptions are enabled.
- 03.2
- 03.3
- 03.4
- 03.5
Install the app to the workspace.
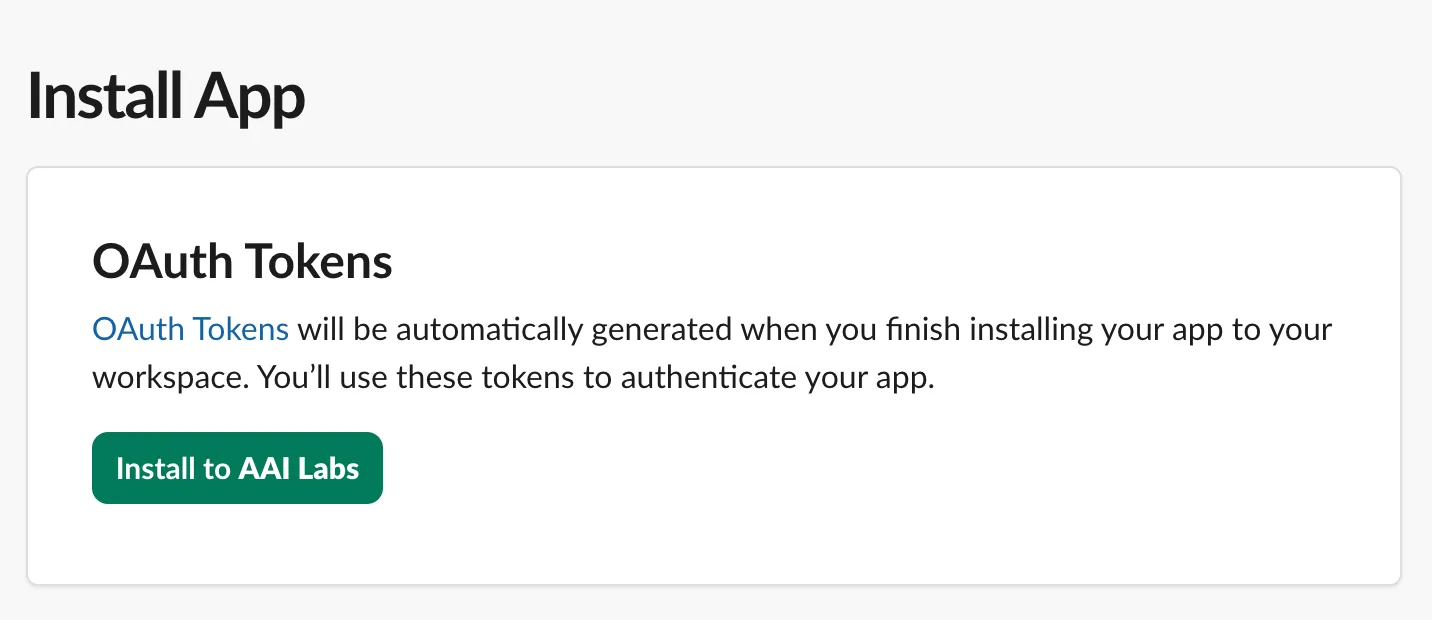
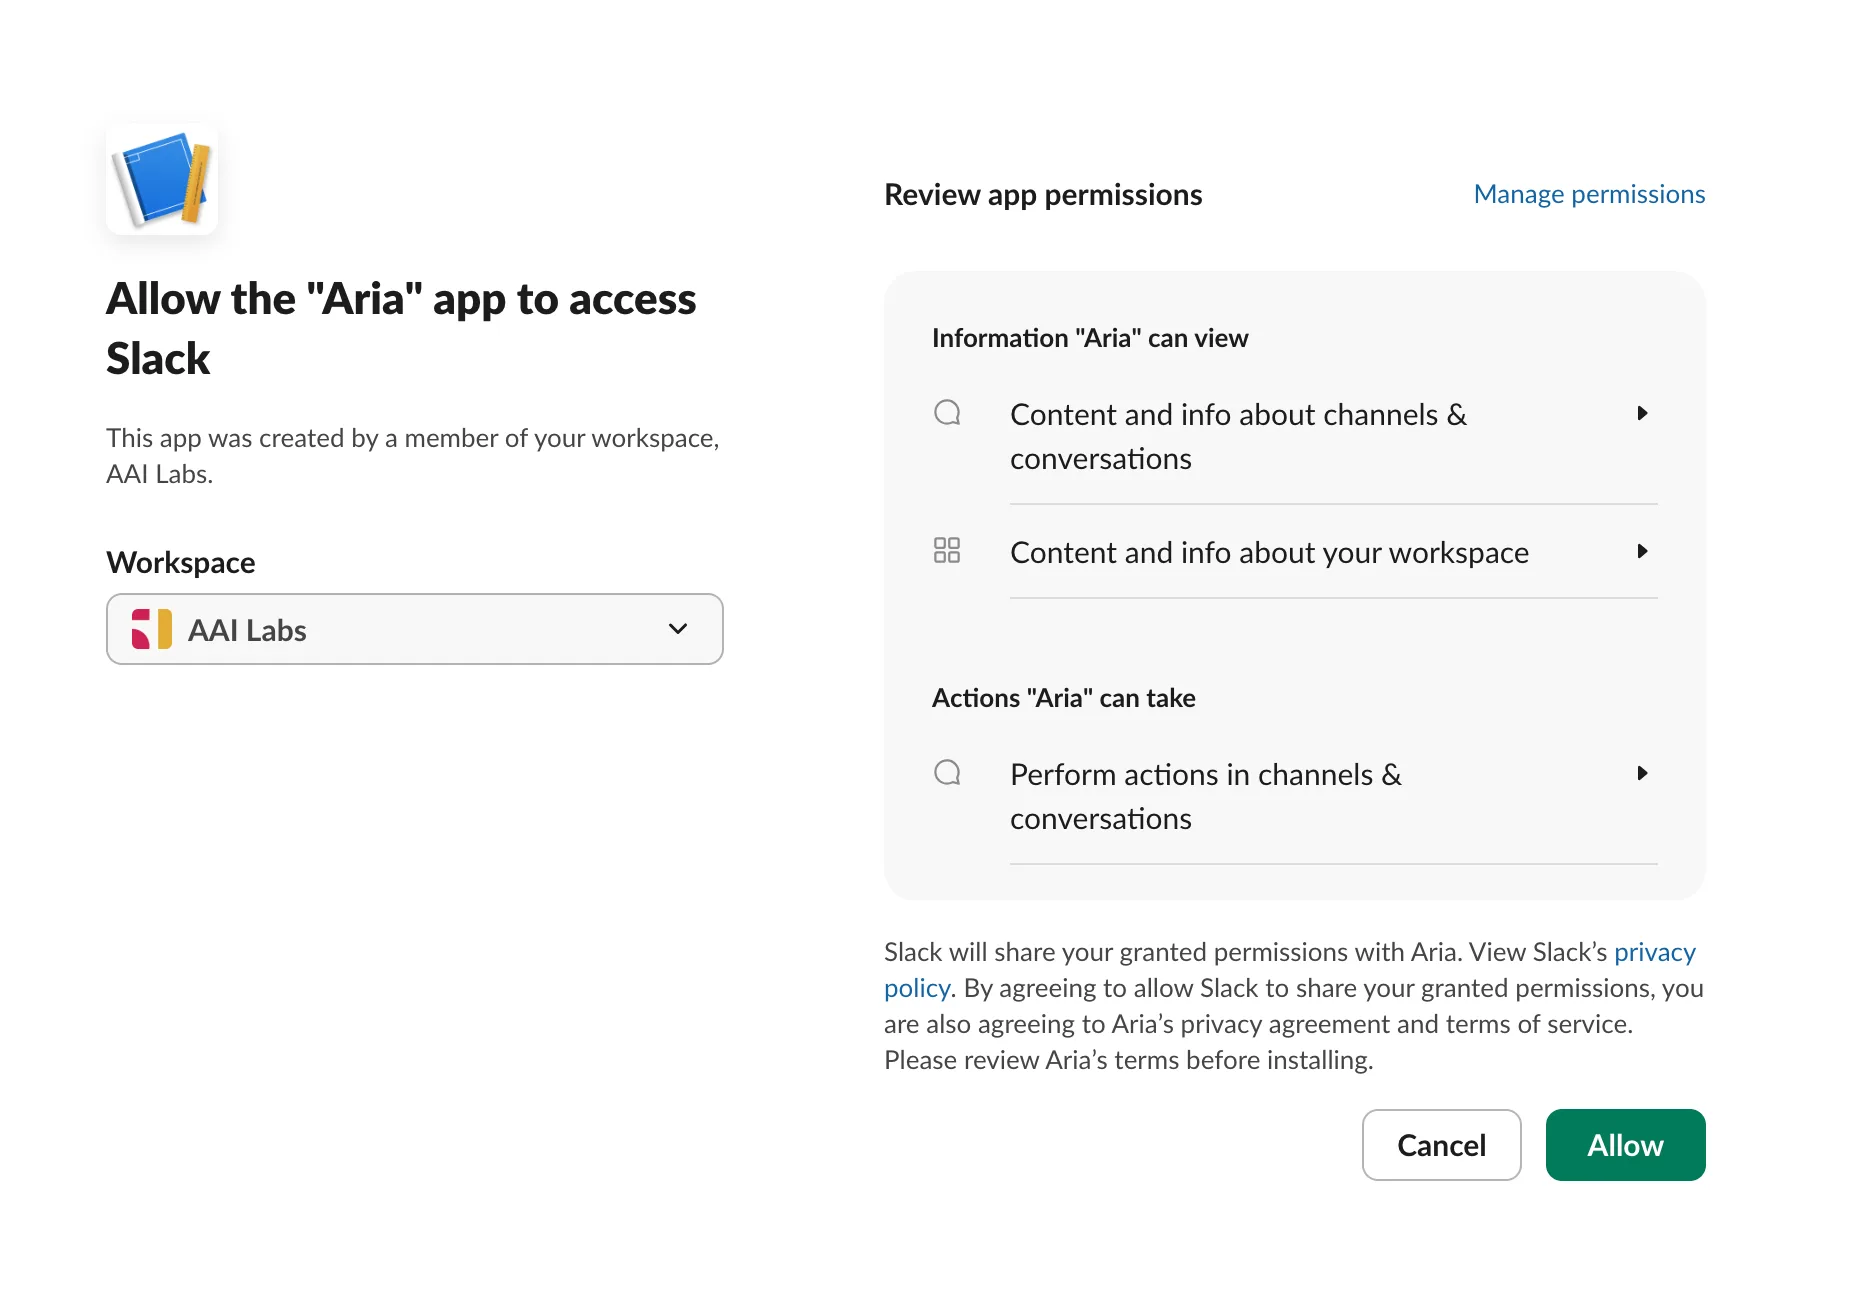
Open Install App, then choose Install to [your workspace]. Review the requested permissions, make sure the workspace selector is correct, and choose Allow.
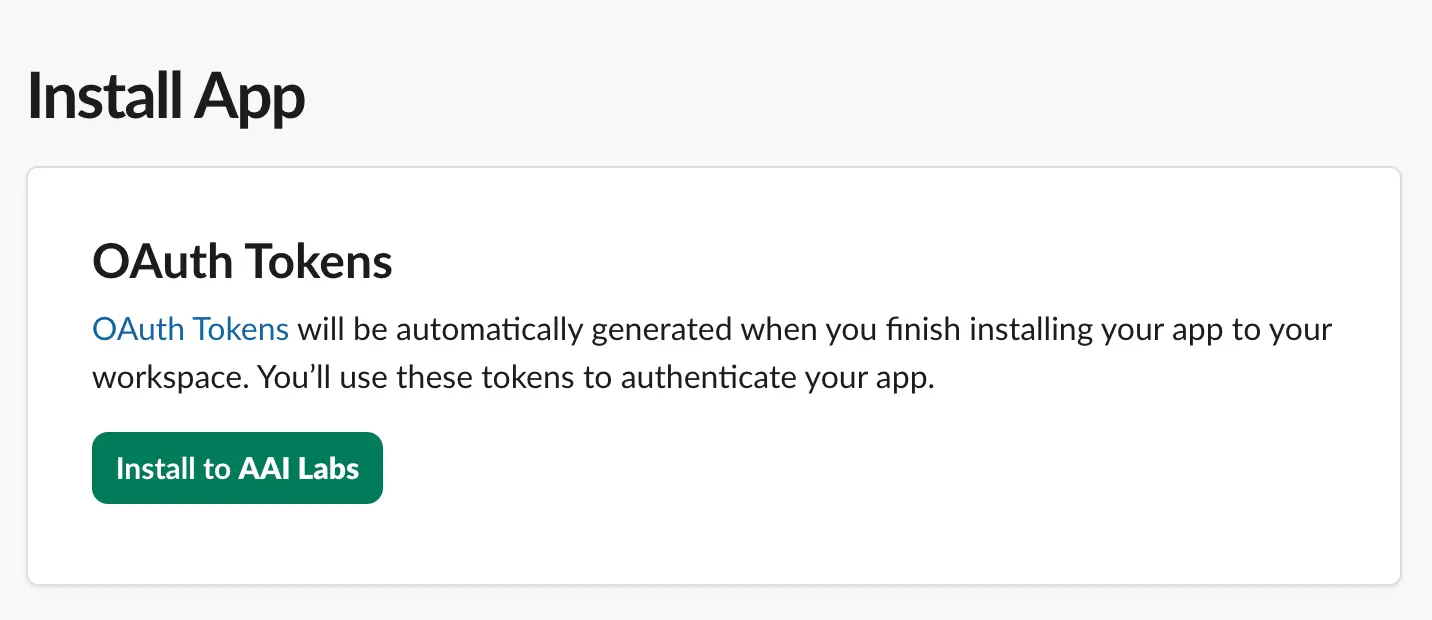
Install App → Install to your workspace. 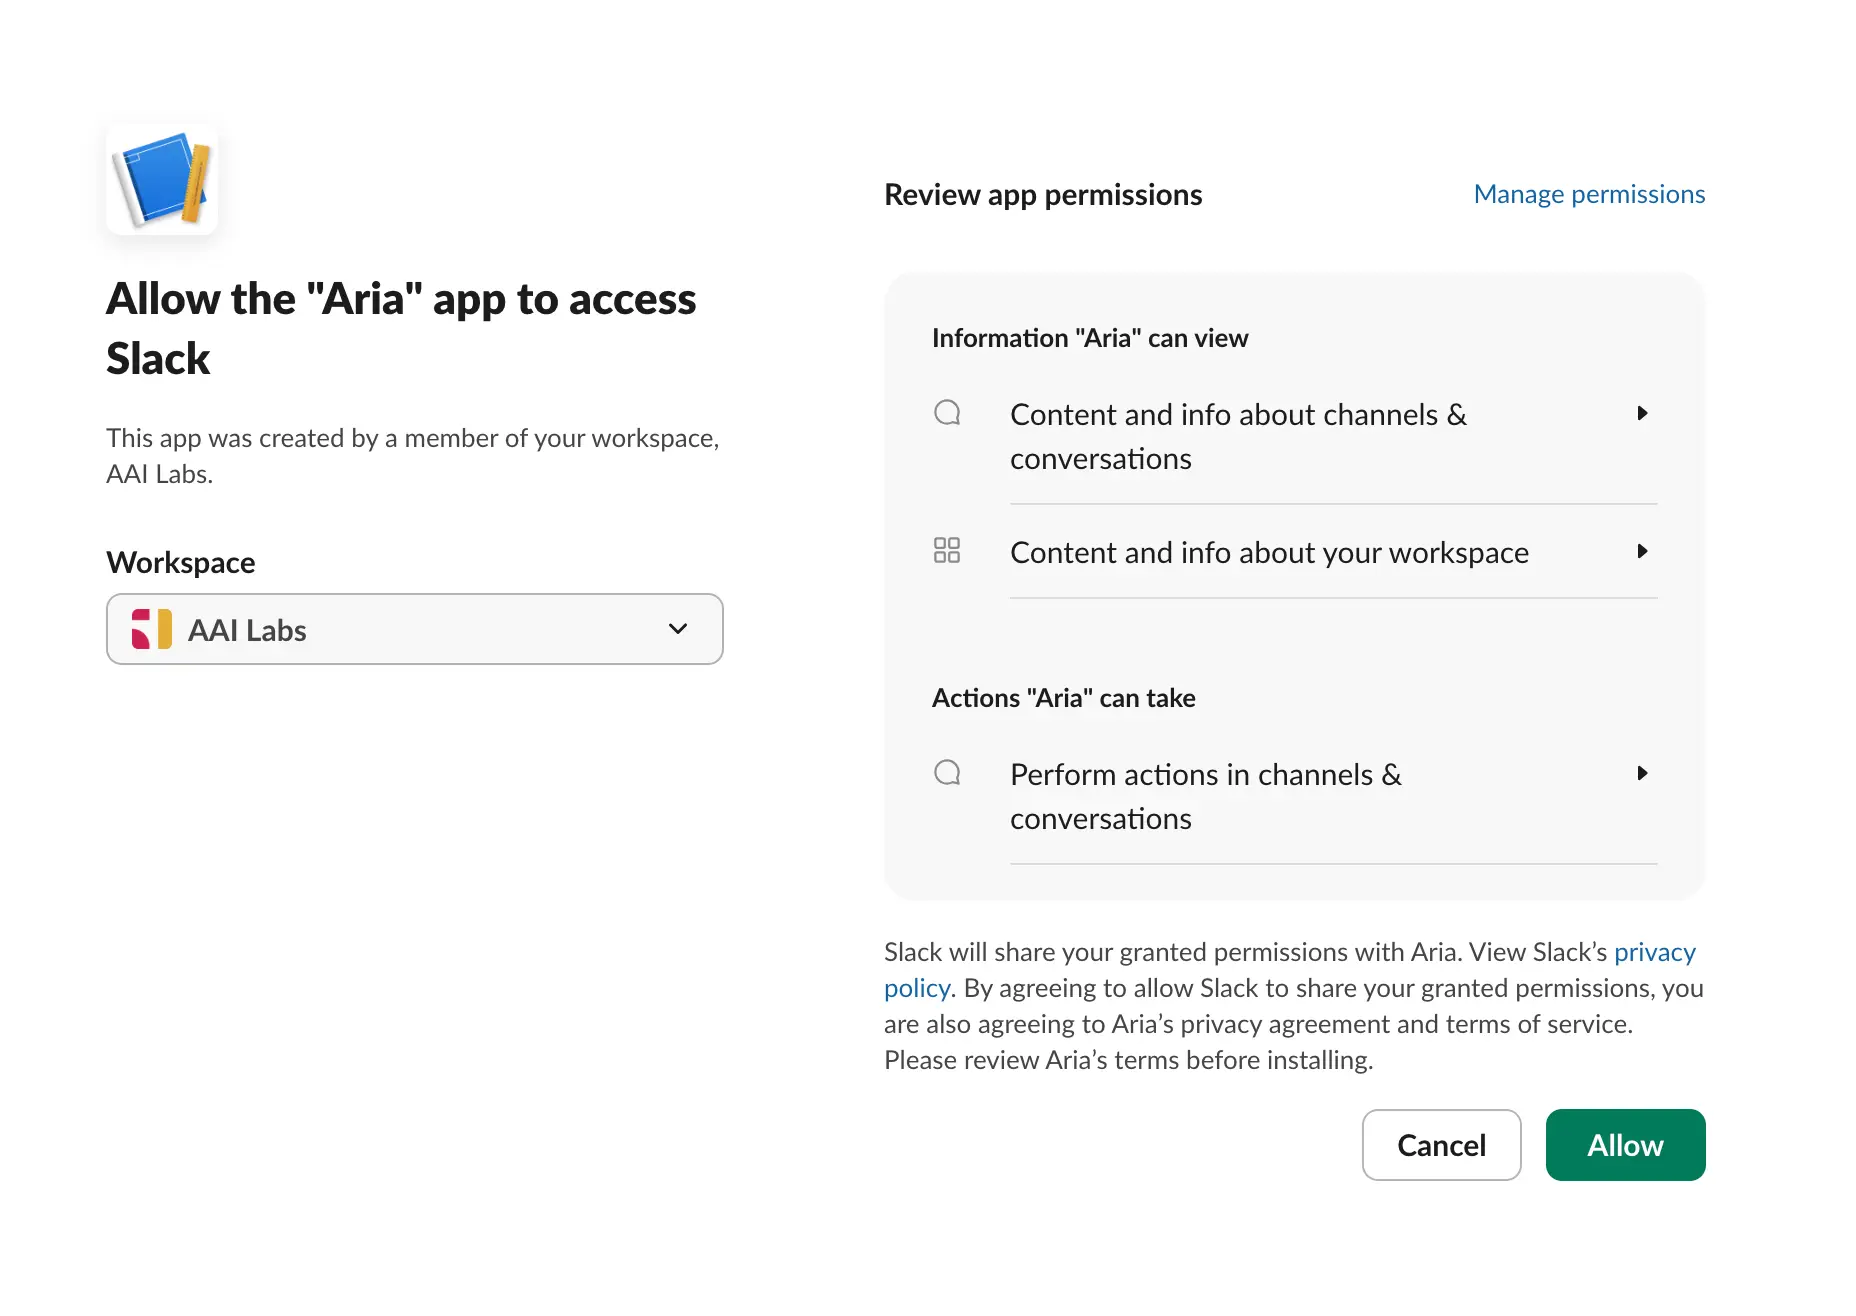
1 // Confirm the workspace. 2 // Approve only after reviewing permissions. - 03.6
Find the Bot User OAuth Token after installation.
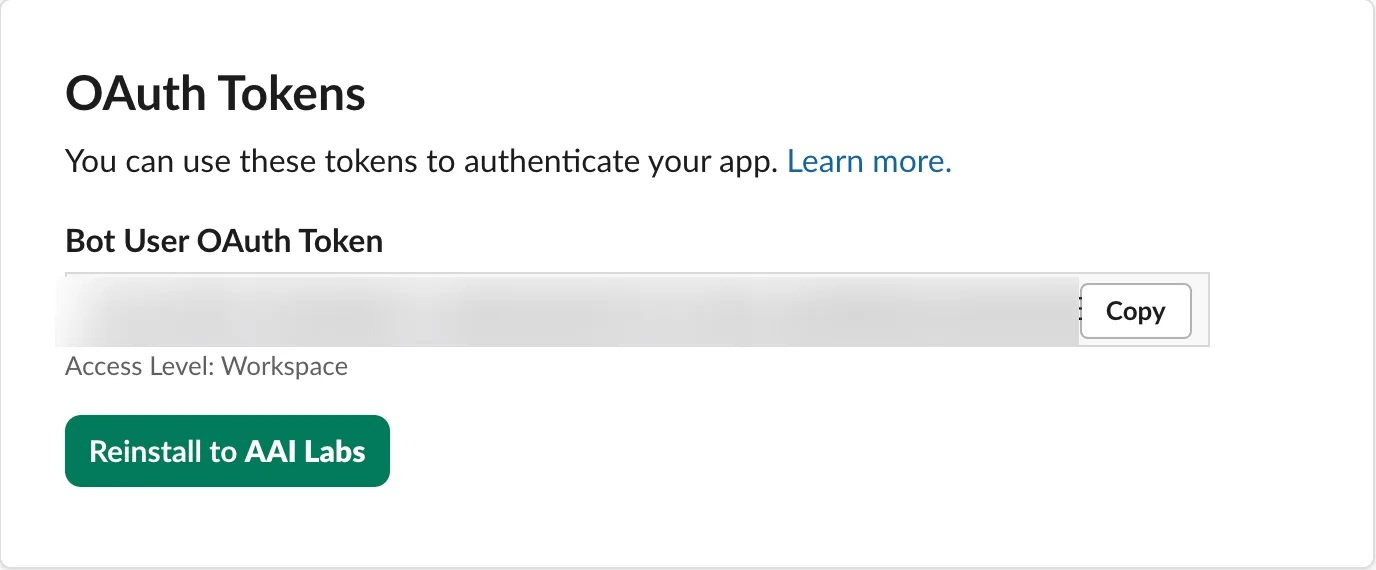
After installation, Slack shows an OAuth Tokens section containing the Bot User OAuth Token. Click Copy and keep the
xoxb-value ready for Agent Barn. The token is blurred in this reference.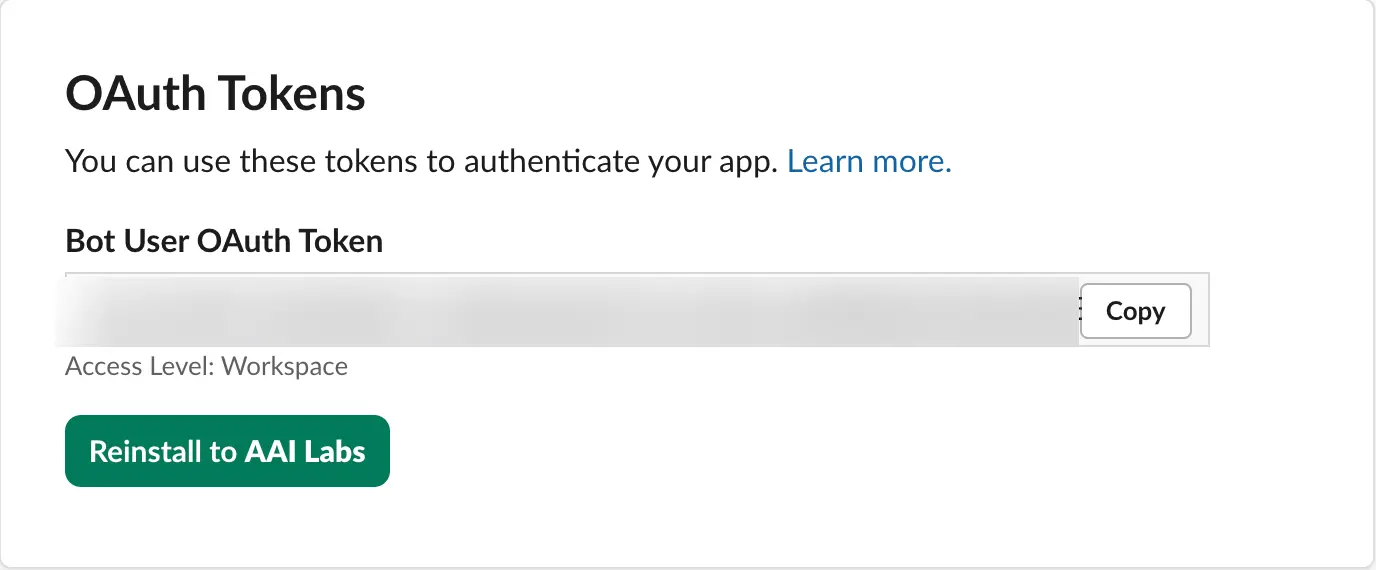
Installed App Settings → OAuth Tokens → Bot User OAuth Token → Copy. - 03.7
Enter both tokens in Agent Barn.
Paste the
xapp-value into App-level token and thexoxb-value into Bot token. - 03.8
Save and verify the connected app.
Save both fields and confirm Agent Barn resolves the expected Slack app and workspace. Stop if either identity is wrong.
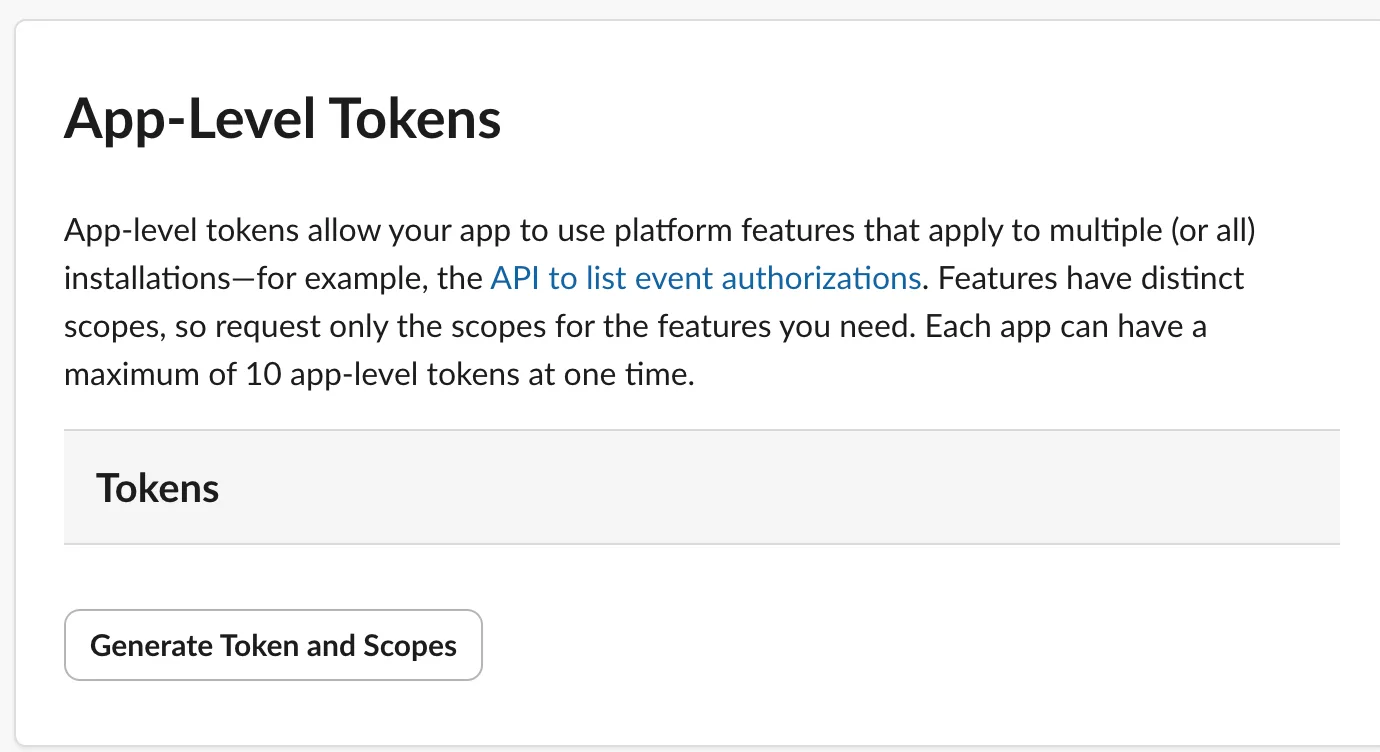
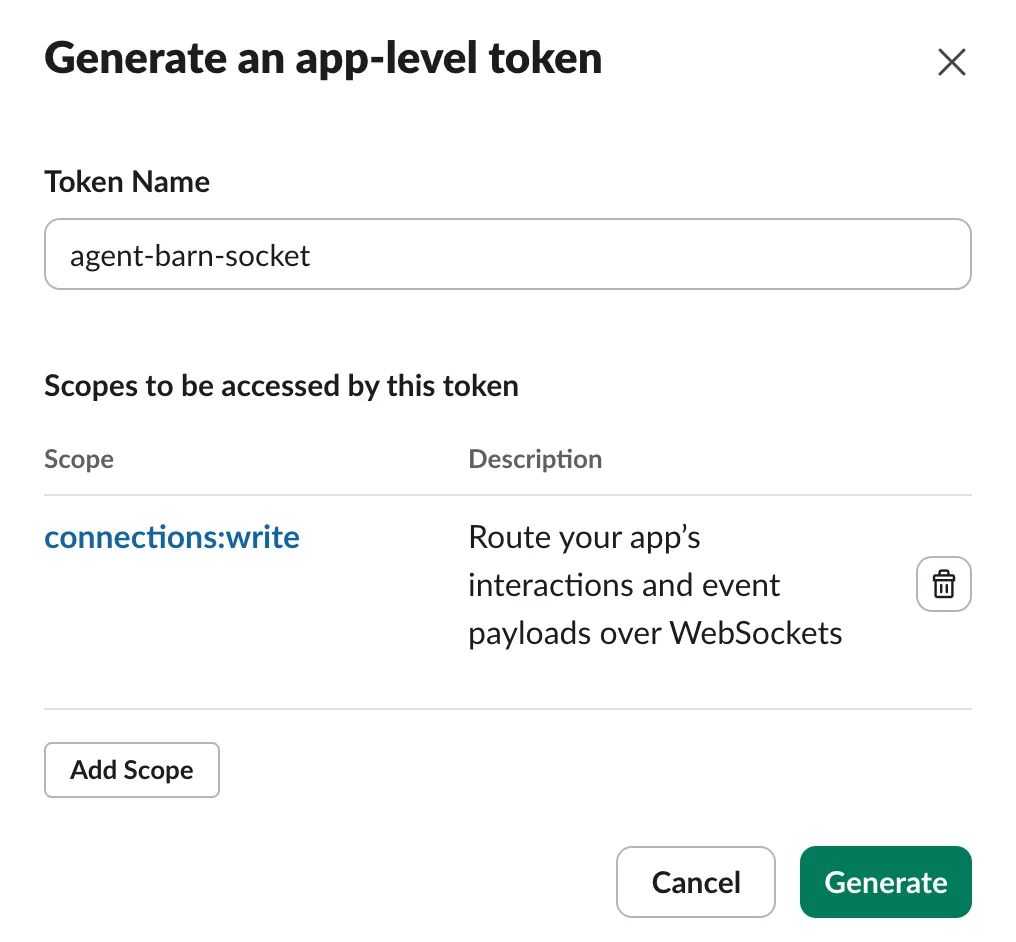
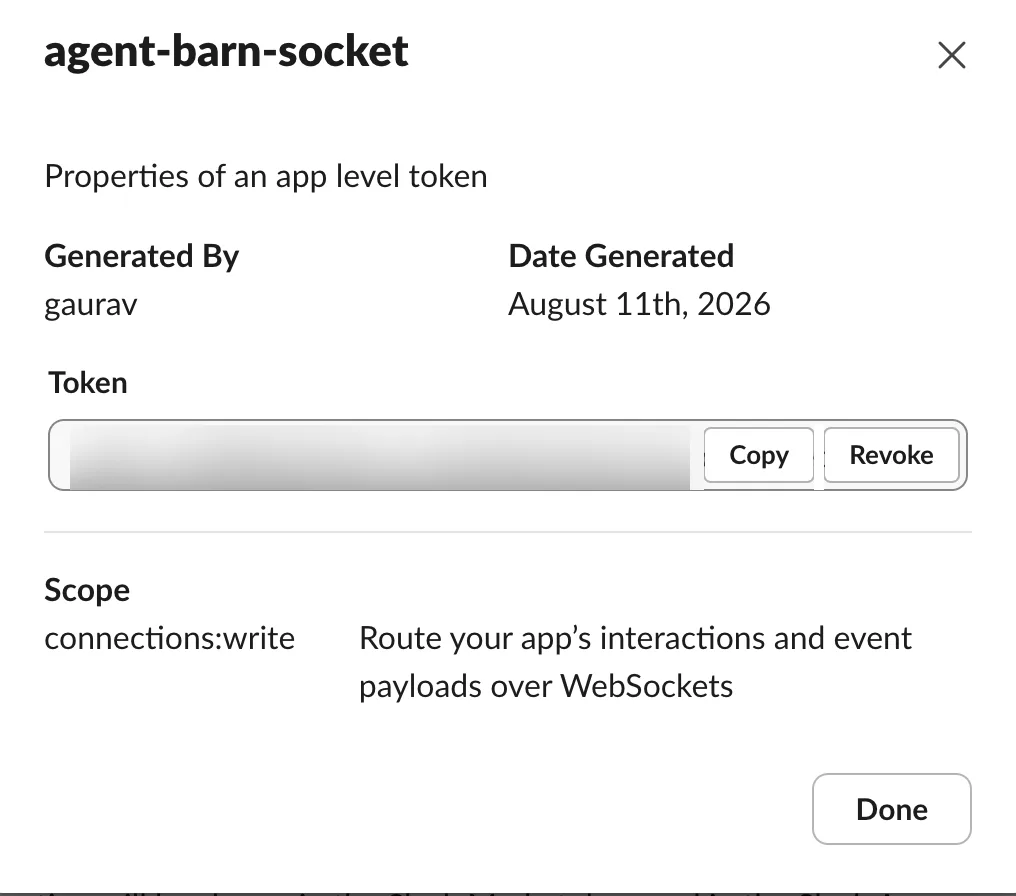
Enter Slack tokens only in their matching Agent Barn fields. Do not include them in messages or screenshots.
Configure how the teammate operates.
Work through these settings in order. Each controls a different part of the agent’s behavior or access.
- 04.1IDENTITY
Name the teammate for its role.
The operational name appears in dashboards and audit history. A short human name makes conversations and mentions easier.
OPERATIONAL NAME AgentBarn_Scrum_Master
Clear in dashboards and logs.
SUGGESTED HUMAN NAME Milo
Easy to mention and remember.
- 04.2MODEL
Choose the model that performs the work.
The model affects capability, speed, and cost. The supplied configuration shows DeepSeek: DeepSeek V4 Flash 0731. Confirm it is available and appropriate for this recipe’s complexity and data sensitivity.
How to decideUse a fast model for structured, repeatable work. Use a more capable model for ambiguous context or nuanced reasoning. Evaluate representative tasks before granting broader access.
- 04.3COMMAND APPROVAL
Decide when a human must approve commands.
Start with the most restrictive mode that still makes the workflow useful.

Current default shown: Auto. RECOMMENDED START Auto
Low-risk commands run automatically; higher-risk commands still require approval.
MAXIMUM OVERSIGHT Manual
The agent asks before every command. Best for pilots and sensitive systems.
NO APPROVAL GATE Off
All prompts are skipped. Use only with tightly sandboxed, narrowly scoped, reversible tools.
- 04.4CHANNEL ACCESS
Choose which channels the agent may answer in.
Slack controls which channels the app can see; this policy controls where the agent may respond.

Current default shown: Allowlist. RECOMMENDED START Allowlist
Respond only in approved channels. Best for pilots and team-specific workflows.
BROAD AVAILABILITY Open
Respond in any reachable channel. Use only for intentionally workspace-wide roles.
- 04.5DIRECT MESSAGES
Control who can start private conversations.
Direct messages remove shared-channel context and oversight. Enable them only when private interaction is genuinely needed.

Current default shown: Off. RECOMMENDED START Off
Ignore direct messages and keep work visible in approved channels.
LIMITED PRIVATE ACCESS Allowlist
Only designated operators and reviewers may send direct messages.
WORKSPACE-WIDE DMS Open
Anyone who can reach the app may DM it. Use only with strong identity and tool controls.
- 04.6VERBOSITY
Choose how much work the agent narrates.
This changes what teammates see while the agent works; it does not change capabilities or approvals.

Current default shown: Concise. VISIBLE EXECUTION Verbose
Announces each step. Useful during onboarding, debugging, and supervised pilots.
RECOMMENDED STEADY STATE Concise
Provides final answers without narrating every intermediate step.
- 04.7
Add the intended Slack destinations.
Invite the app to each permitted channel. When Allowlist is selected, add the same channels and approved direct-message users in Agent Barn before testing.
- 04.8
Configure the recipe trigger and workflow.
Trigger: A scheduled ceremony, configured work-item change, or stand-up window.
- 04.9
Apply the recipe requirements and review rule.
TemplateCeremony cadence, question format, and summary structure.
SkillsJira access for the relevant project or sprint information.
PoliciesThe Slack channels and direct-message rules for the team.
Auto command approval · Channel allowlist · Direct messages off · Concise responses. Expand access only after representative tests and review of the agent’s tools and data boundaries.
Assign the skills this recipe needs.
Skills connect the agent to external platforms. Select only the integrations required for the workflow, then connect each one with a dedicated or approved shared credential.
Jira
Read sprint, issue, assignee, status, and blocker information for the configured team.
- Credential
- An Atlassian account email, site URL, and scoped or non-scoped API token.
- Permissions
- Projects and boards: read · Issues and sprint state: read · Comments or updates: omit unless the team explicitly enables them
- Select the board, project, and active sprint sources.
- Keep write actions disabled for the initial coordination pilot.
- Validate summaries against the board before automating reminders.
- 05.1
Keep required skills; resolve “choose one” integrations.
Skills marked Required by template are part of this recipe’s workflow. When a card names alternatives, choose the provider your team actually uses. Optional skills should remain disconnected until a defined task needs them.
- 05.2
Choose how each credential will be supplied.
Choose Enter credentials to connect an account now. Choose Use shared credential when the correct workspace account is already connected.
NEW CONNECTION Enter credentials
Connect the account required by this recipe.
EXISTING CONNECTION Use shared credential
Select a matching account already available in Agent Barn.
- 05.A1
Record the Atlassian site URL.
This recipe connects to Jira. Copy only the site origin, for example
https://aai-labs.atlassian.net. Omit Confluence space and Jira project paths.
Use the site origin only; omit everything after .net. - 05.A2
Confirm Jira and Confluence access.
The API token inherits its Atlassian account’s product and content permissions. For Scrum Master, the required boundary is: Projects and boards: read · Issues and sprint state: read · Comments or updates: omit unless the team explicitly enables them.
One credential, verified twiceWhen Jira and Confluence are both required, test the same credential against one permitted Jira item and one permitted Confluence page. Confirm locations outside the configured boundary remain unavailable.
- 05.A3
Open Atlassian account security.
Open the profile menu, choose Account settings, then open Security.
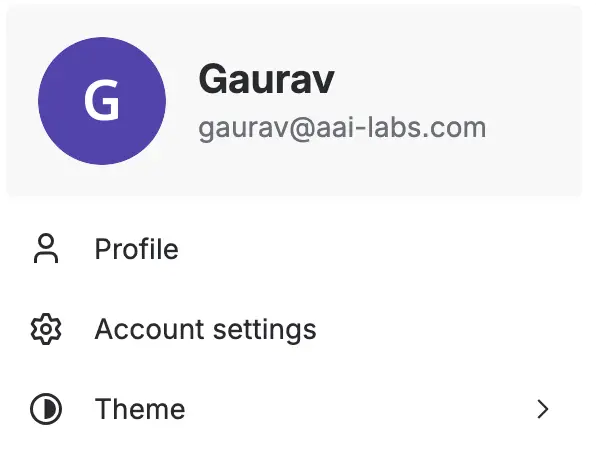
1 // Profile menu → Account settings. 
2 // Open the Security tab. - 05.A4
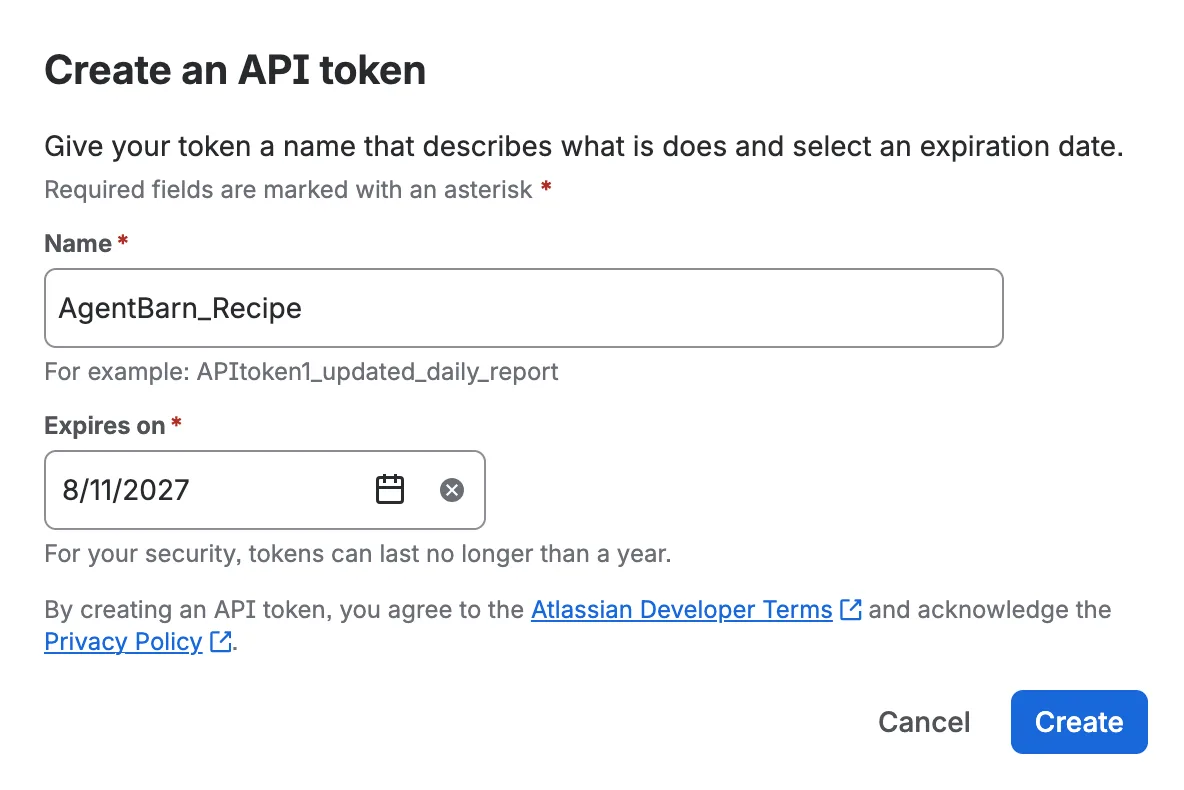
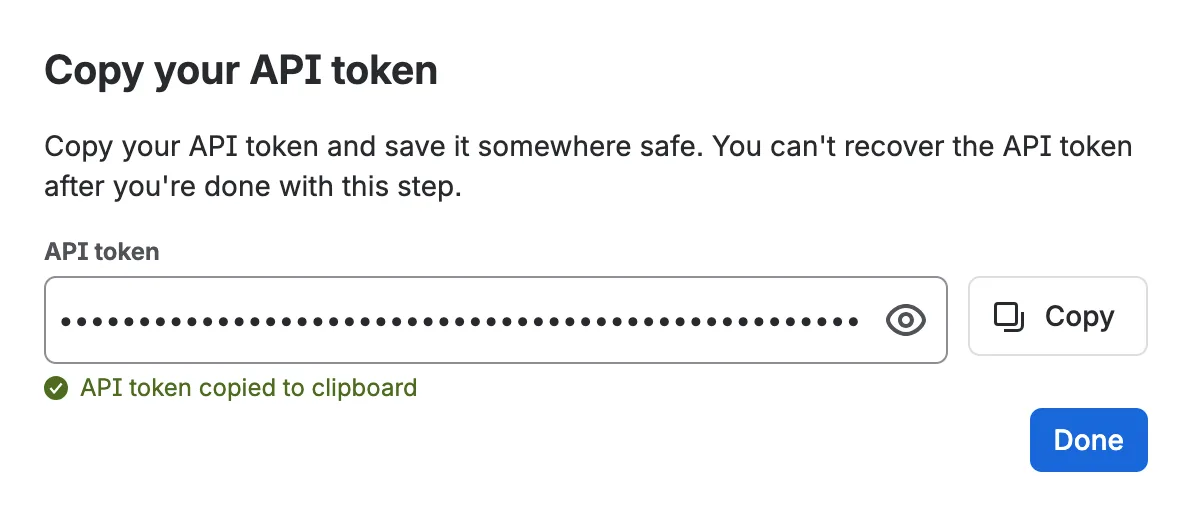
Open the API token manager.
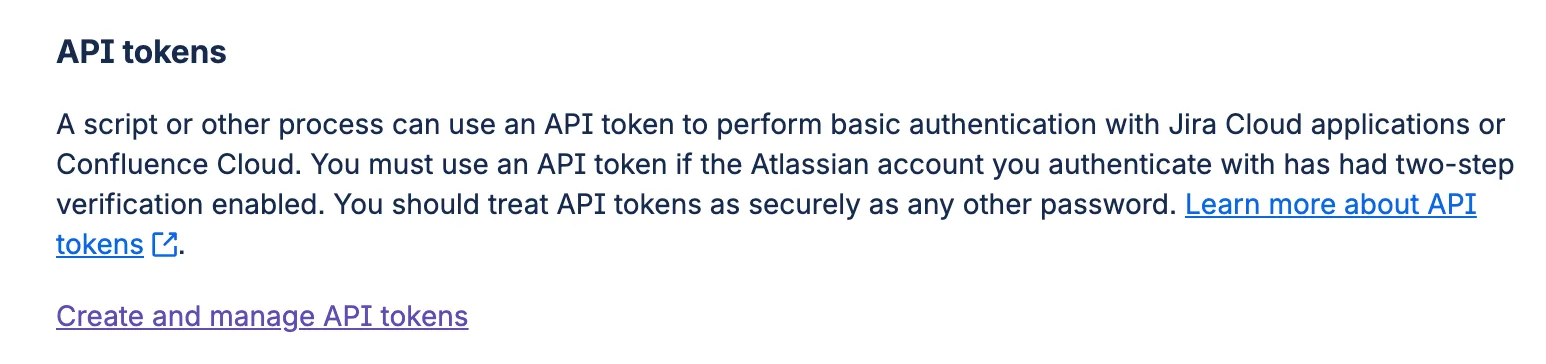
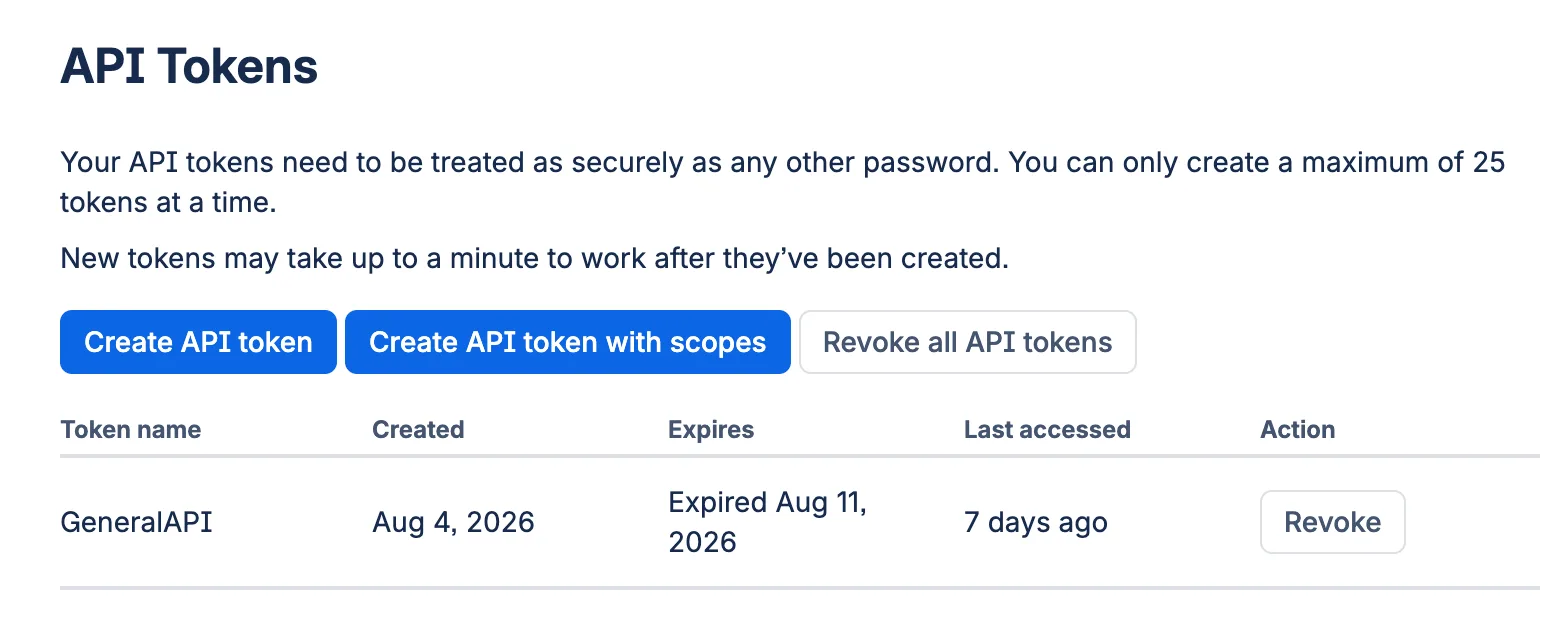
Choose Create and manage API tokens, then select a standard or scoped token. The choice must match the Authentication Type selected in Agent Barn.
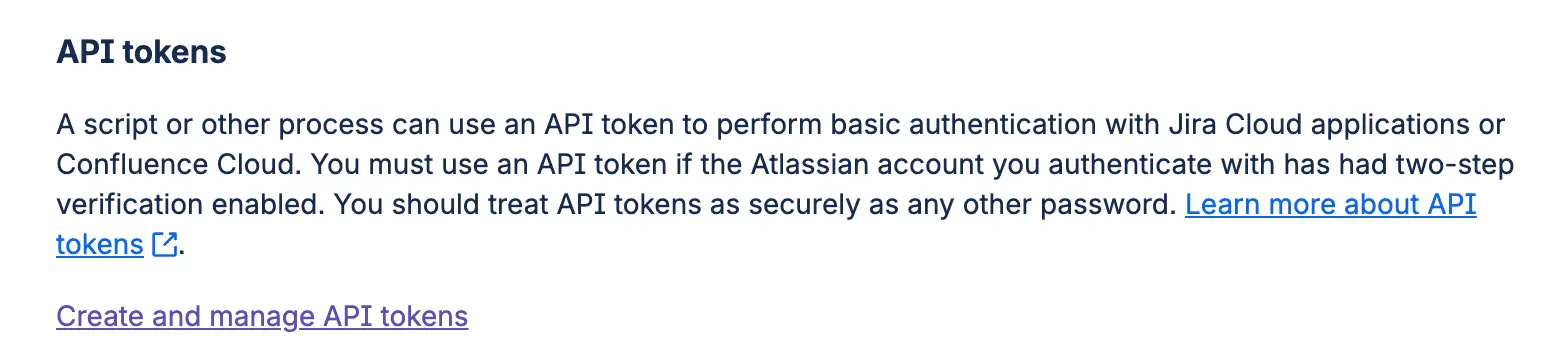
Security → API tokens → Create and manage API tokens. 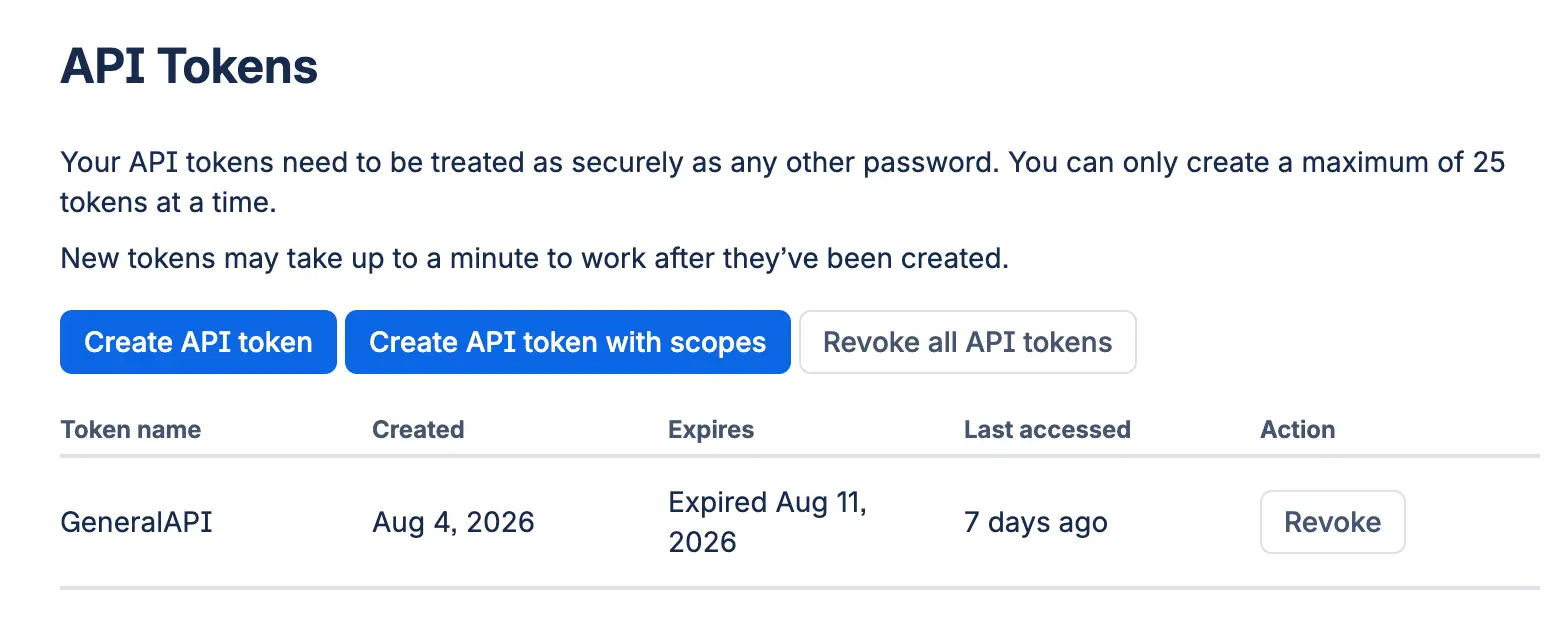
Choose the token type deliberately. SHARED JIRA + CONFLUENCE Non-scoped token
Can use the account’s Jira and Confluence permissions. Limit the account itself and verify both products before reuse.
APP-SPECIFIC ACCESS Scoped token
Limits API scopes. Create or reuse only a token whose selected app and scopes match the credential block.
- 05.A5
- 05.A6
Complete the Atlassian credential block.
Enter the site origin, matching authentication type, account email, and API token. Jira and Confluence may use the same saved credential when the token mode and account permissions cover both products.
SITE URLShared Atlassian site origin.
AUTHENTICATION TYPEScoped or non-scoped.
EMAILAccount that created the token.
API TOKENToken used for Jira and Confluence.
- 05.Z
Validate every selected skill before hiring.
Run one expected action and confirm the recipe cannot reach anything outside its selected accounts and resources. Resolve permission issues before choosing Hire.
Verify the setup before launch.
Run this short review once Slack, Agent Barn, and the required skills are configured.
- Confirm the app is installed in the intended Slack workspace.
- Verify the
xapp-andxoxb-values connect the intended Slack app. - Validate every required skill and confirm its credential has only the intended site, space, project, or repository access.
- Test one representative request in an allowlisted channel.
- Confirm higher-risk commands still trigger the expected approval path.
- Review the agent’s response quality, visibility, and logs before expanding access.
- Run the configured trigger: A scheduled ceremony, configured work-item change, or stand-up window.
- Confirm the result follows Collect updates → Track blockers → Prepare summary → Keep moving.
- Apply the review rule: Keep the agent focused on coordination and summaries; the team retains ownership of commitments, priorities, and delivery decisions.
Scrum Master is ready for a controlled pilot.
Start with a narrow audience and reversible work, then widen access after observing representative tasks.
Return to recipes →