Select the existing app.
- 01.1
Open Slack API → Your Apps.
Sign in at api.slack.com/apps ↗.
- 01.2
Select the app and workspace.
Open the app that should run Jira Task Helper. Confirm the workspace before changing its manifest.
Apply the recipe manifest.
The name and description are already set for Jira Task Helper.
- 02.1
Open Features → App Manifest.
Choose App Manifest and select the JSON tab.
- 02.2
Back up the current manifest.
Copy the existing JSON to a secure working document before changing it so workspace-specific settings can be preserved or restored.
- 02.3
Replace or merge the configuration.
Copy the manifest below. Merge it when the existing app has settings your team still needs.
- 02.4
Save the manifest.
Review Slack's change summary, then click Save Changes.
{
  "display_information": {
    "name": "AgentBarn_Jira_Helper",
    "description": "Turns a plain-language request into a structured Jira task and files it for the team.",
    "background_color": "#CC4400"
  },
  "features": {
    "app_home": {
      "home_tab_enabled": false,
      "messages_tab_enabled": true,
      "messages_tab_read_only_enabled": false
    },
    "bot_user": {
      "display_name": "AgentBarn_Jira_Helper",
      "always_online": true
    }
  },
  "oauth_config": {
    "scopes": {
      "bot": [
        "app_mentions:read",
        "canvases:read",
        "canvases:write",
        "channels:history",
        "channels:join",
        "channels:read",
        "chat:write",
        "chat:write.customize",
        "chat:write.public",
        "emoji:read",
        "files:read",
        "files:write",
        "groups:history",
        "groups:read",
        "im:history",
        "im:read",
        "im:write",
        "mpim:history",
        "mpim:read",
        "mpim:write",
        "pins:read",
        "pins:write",
        "reactions:read",
        "reactions:write",
        "search:read.users",
        "users:read",
        "users:read.email"
      ]
    },
    "pkce_enabled": false
  },
  "settings": {
    "event_subscriptions": {
      "bot_events": [
        "app_mention",
        "channel_rename",
        "member_joined_channel",
        "member_left_channel",
        "message.channels",
        "message.groups",
        "message.im",
        "message.mpim",
        "pin_added",
        "pin_removed",
        "reaction_added",
        "reaction_removed"
      ]
    },
    "interactivity": {
      "is_enabled": true
    },
    "org_deploy_enabled": false,
    "socket_mode_enabled": true,
    "token_rotation_enabled": false,
    "is_mcp_enabled": false
  }
}Create the app-level token.
- 03.1
Open Basic Information → App-Level Tokens.
Click Generate Token and Scopes.
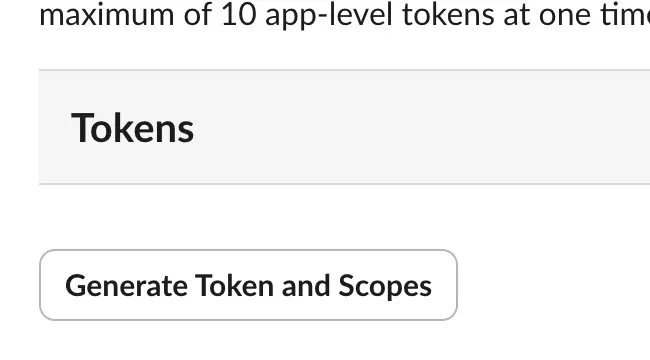
Generate Token and Scopes. - 03.2
Name the token and add the scope.
Use
AgentBarn_Jira_Helper, addconnections:write, and click Generate.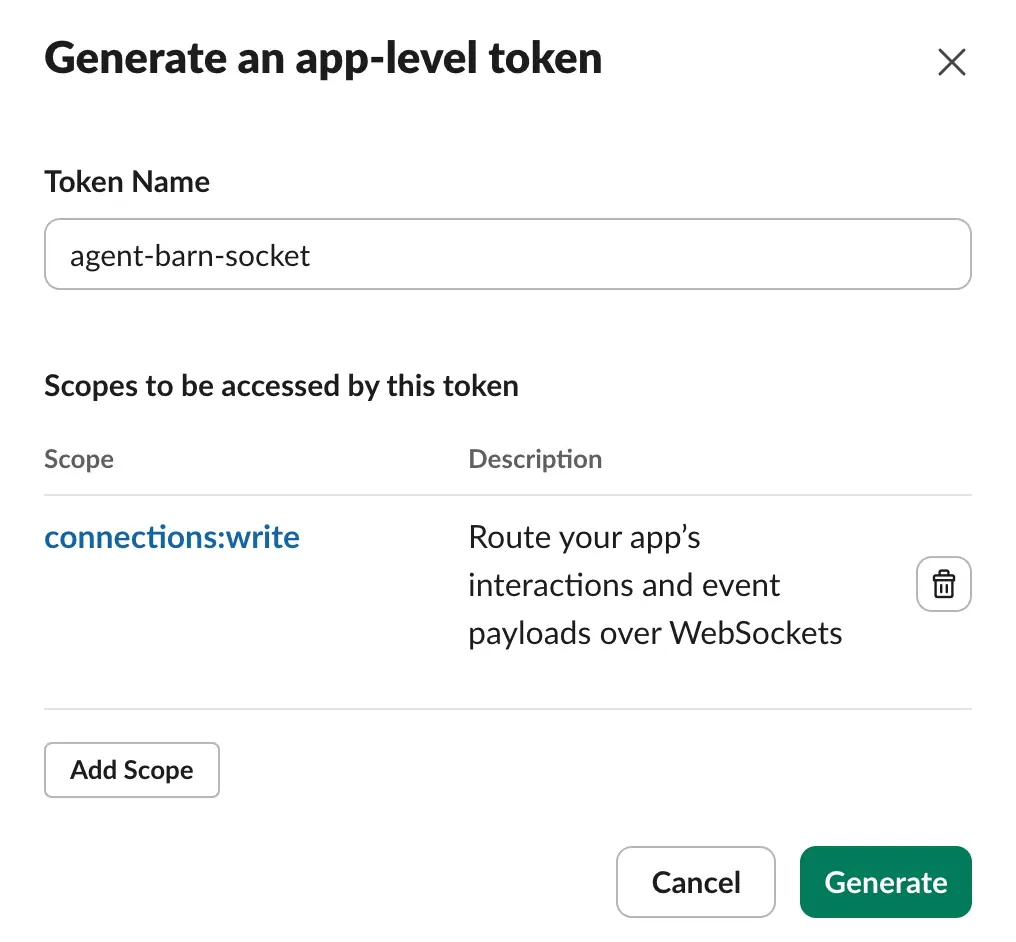
Name → connections:write → Generate. - 03.3
Copy the
xapp-value.Keep it ready for the Agent Barn App-level token field.
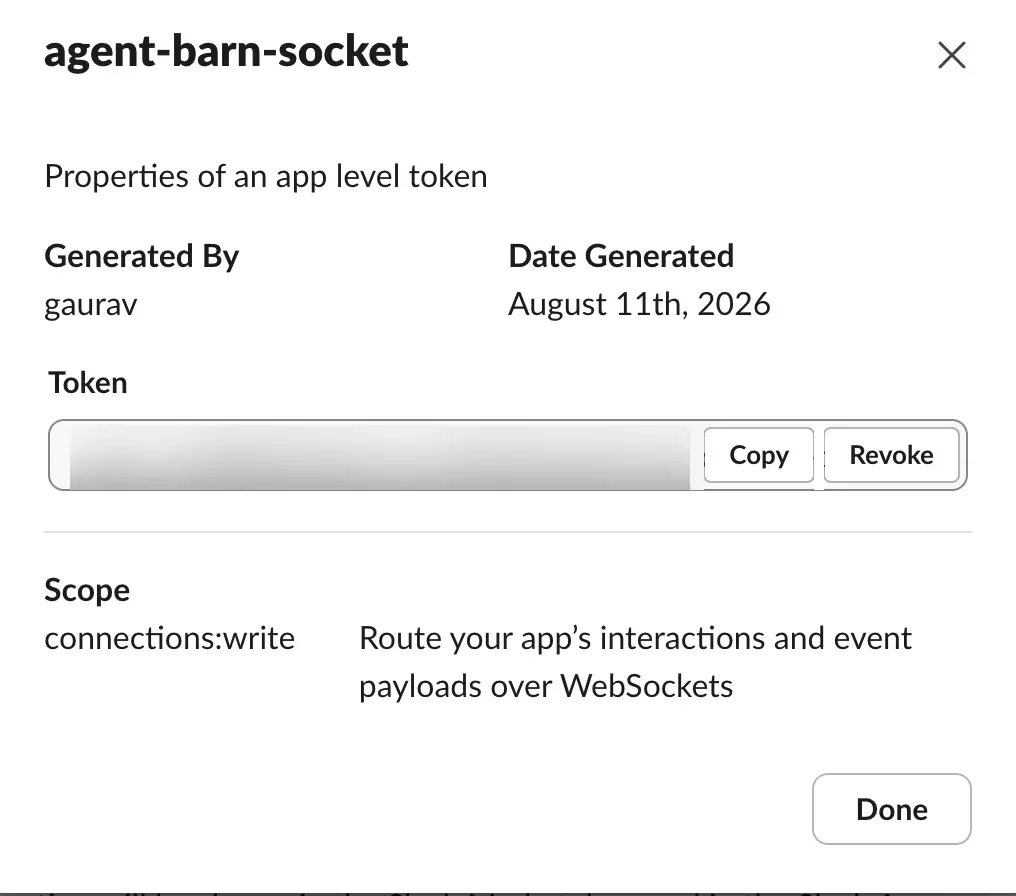
The value is blurred; use Copy.
Install the app and copy the bot token.
- 04.1
Open Install App.
Click Install to [your workspace].
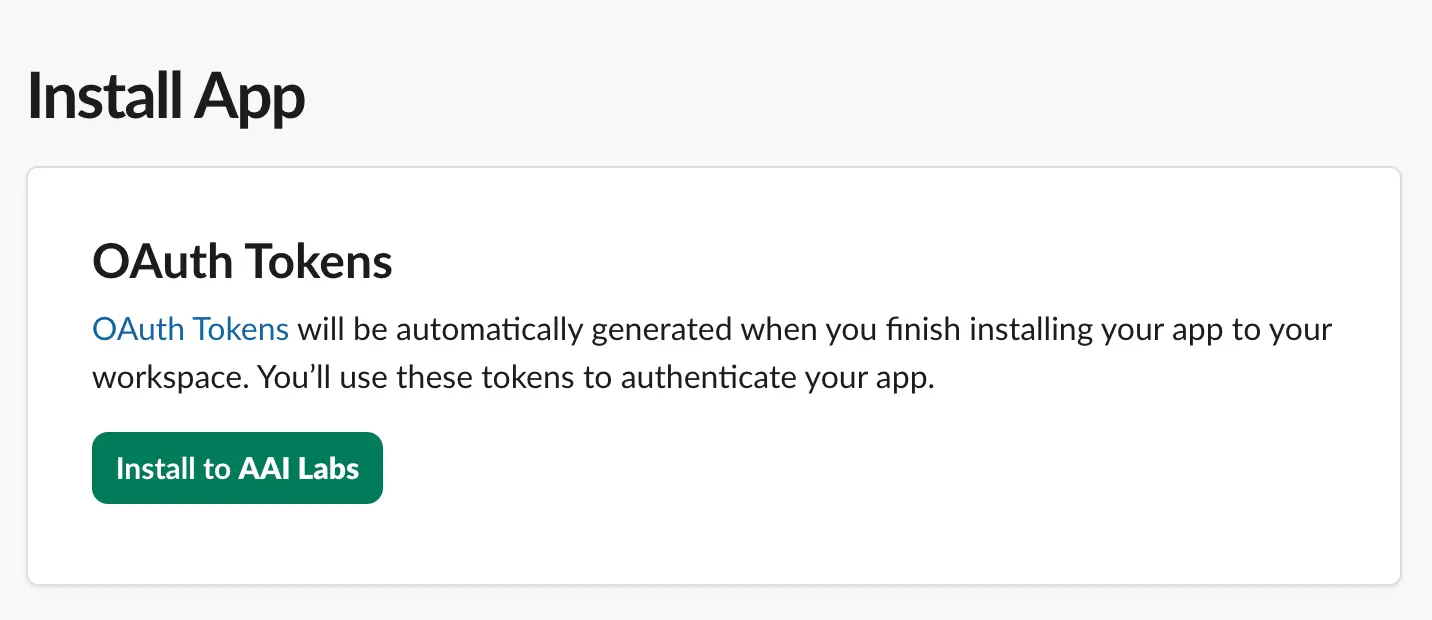
Install App → Install to workspace. - 04.2
Review the workspace and permissions.
Confirm the workspace, review the requested access, and choose Allow.
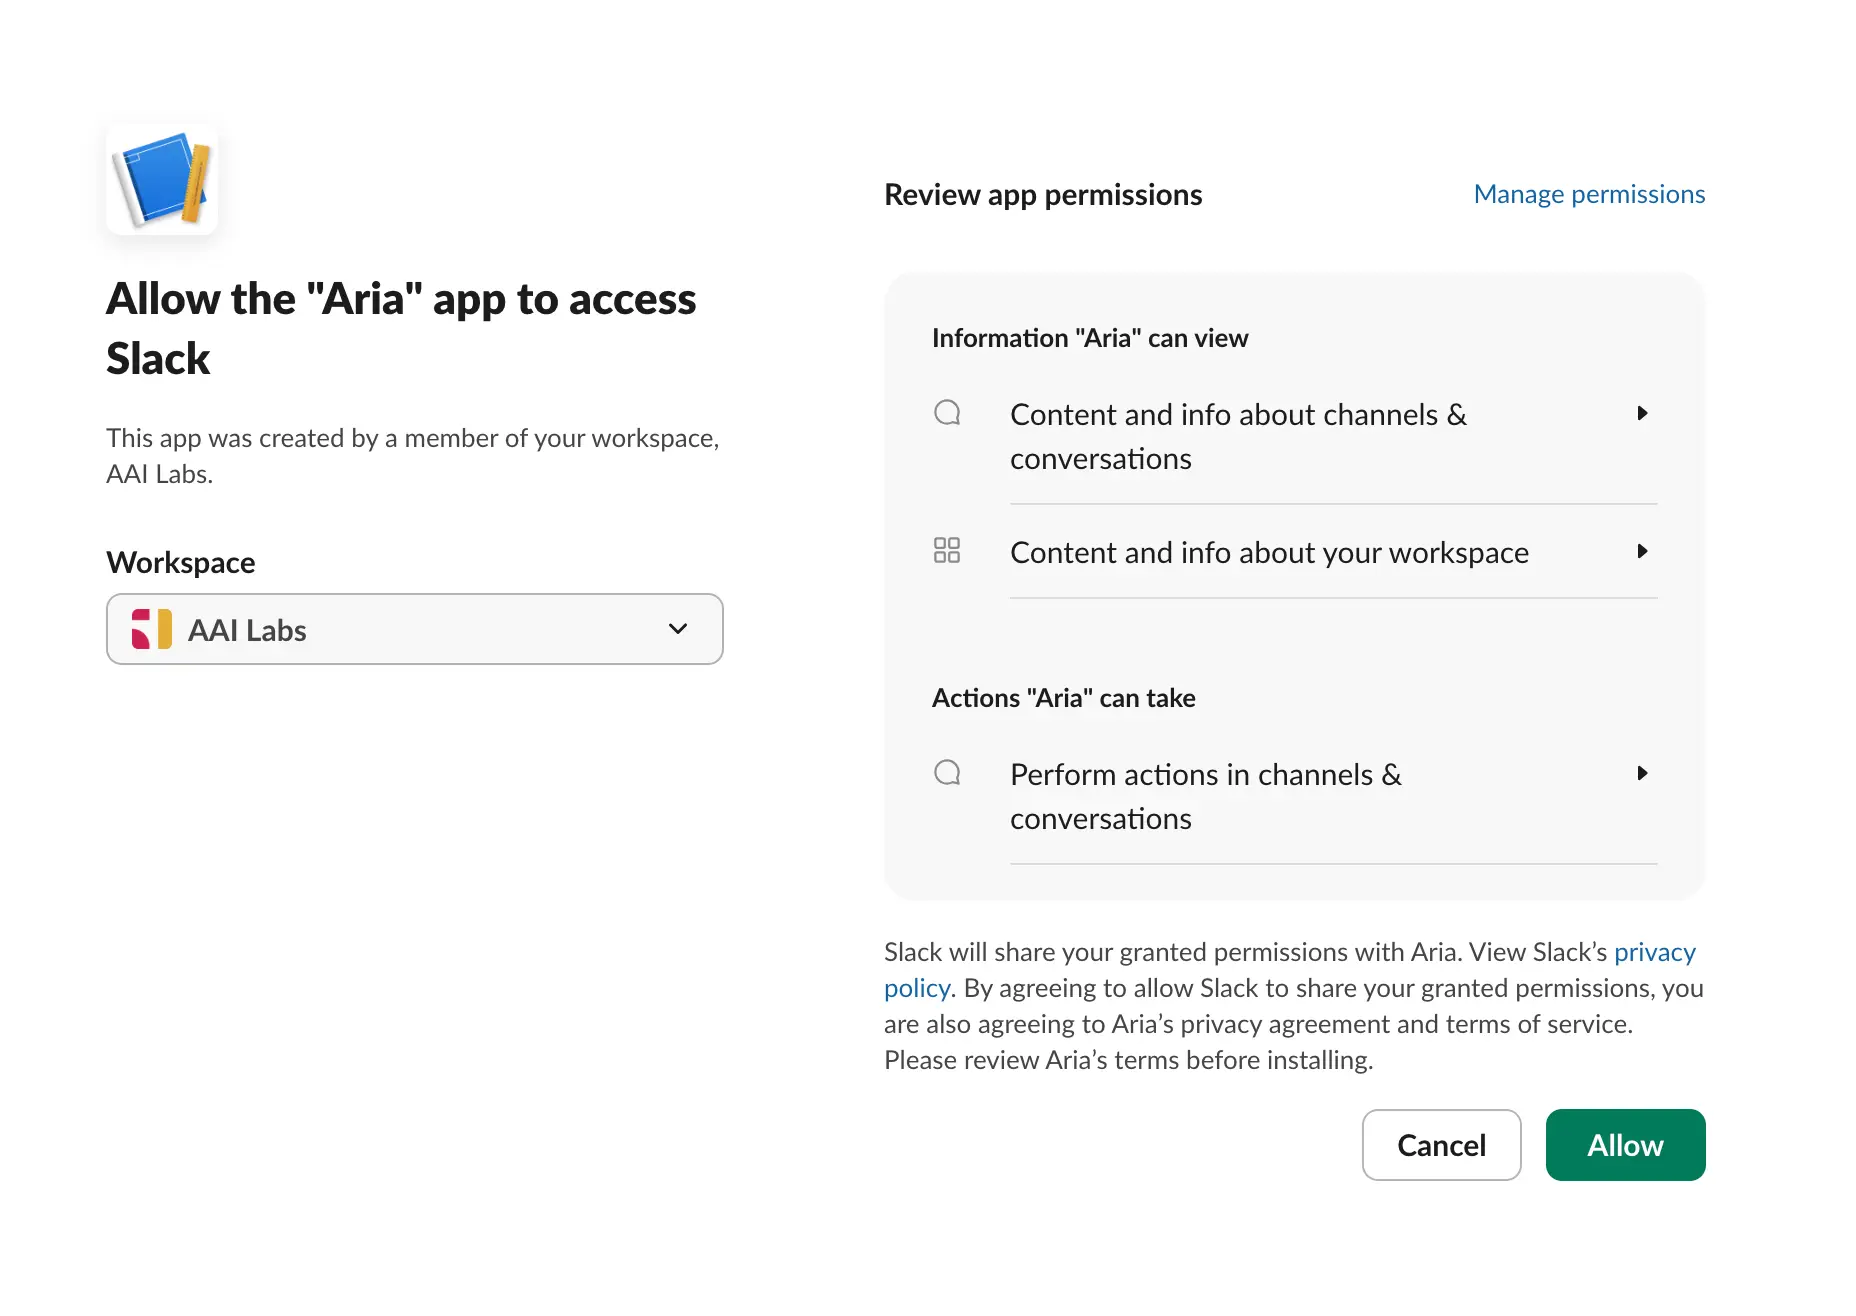
Confirm workspace → review access → Allow. - 04.3
Copy the Bot User OAuth Token.
In Installed App Settings → OAuth Tokens, copy the
xoxb-value.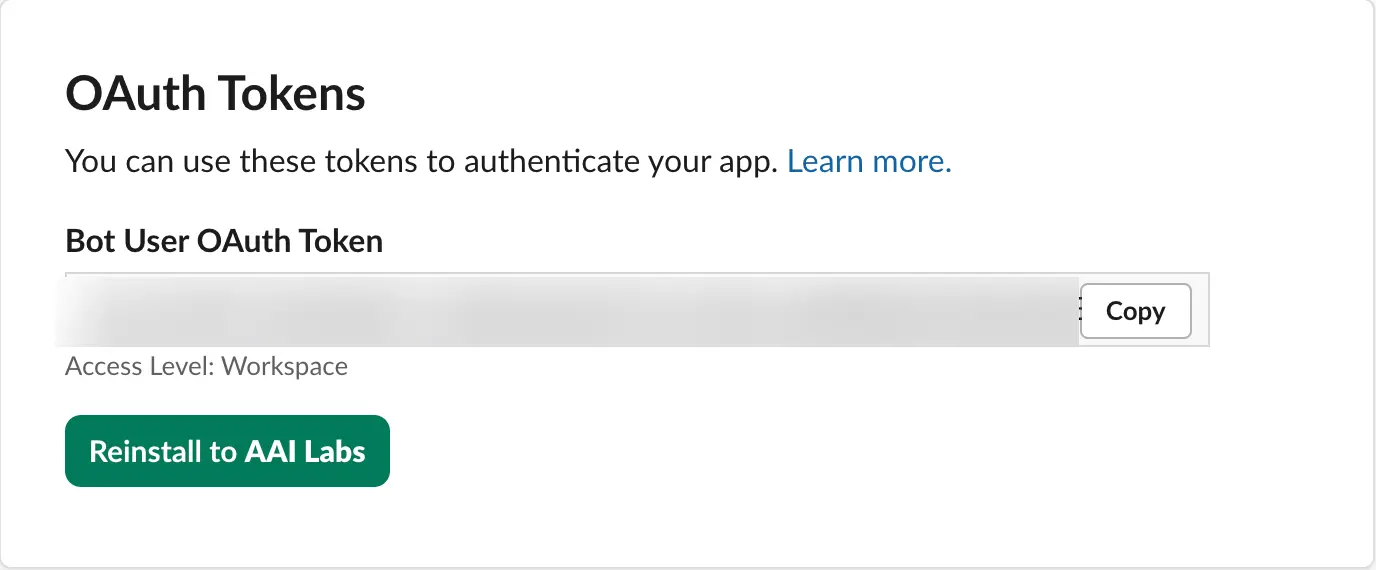
Bot User OAuth Token → Copy.
Connect both Slack values.
xapp-…Paste the value from App-Level Tokens.
xoxb-…Paste the Bot User OAuth Token.
- 05.1
Enter the values in their matching fields.
Paste the complete
xapp-andxoxb-values, then save. - 05.2
Confirm the connected app.
Check that Agent Barn resolves the expected Slack app and workspace.
Configure the agent.
- 06.1
Name the agent.
Use
AgentBarn_Jira, or another role-specific name your team will recognize. - 06.2
Select and test the model.
Choose an available model, then run one representative Jira Task Helper task before connecting broader access.
- 06.3
Choose command approval.

Auto · Manual · Off Auto Runs low-risk commands automatically.
Manual Asks before every command.
Off Runs without approval prompts.
- 06.4
Choose response detail.

Verbose · Concise Verbose Shows progress while working.
Concise Returns the result without step narration.
- 06.5
Configure the recipe trigger and workflow.
Trigger: A teammate submits a request in an allowed Slack channel or direct message.
- 06.6
Apply the recipe requirements and review rule.
TemplateThe project-specific intake questions and ticket format.
SkillsJira access and the actions permitted in the connected project.
PoliciesWhere intake is allowed and who can request ticket creation.
Set Slack access rules.
- 07.1
Choose channel access.

Allowlist · Open Allowlist Respond only in channels you add.
Open Respond in any channel the app can reach.
- 07.2
Choose direct-message access.

Off · Allowlist · Open Off Ignore direct messages.
Allowlist Reply only to approved people.
Open Reply to anyone who can reach the app.
- 07.3
Add and test the intended destinations.
Invite the Slack app to each allowed channel, add the same channels or people in Agent Barn, and send one test request.
Connect the skills for Jira Task Helper.
Jira
Read project metadata and create structured issues in approved projects.
- Credential
- An Atlassian account email, site URL, and scoped or non-scoped API token.
- Permissions
- Projects: browse · Issues: create · Comments: add only when follow-up requires it
- Choose the target project and allowed issue types.
- Map required fields, components, and labels before launch.
- Create a test issue and verify the agent cannot write to projects outside scope.
- 08.1
Select only this recipe’s integrations.
Keep required skills. Where a card says “choose one,” connect the provider that owns the relevant data.
- 08.A1
Atlassian // Copy the site origin.
Use the address through
.atlassian.net; omit Jira project and Confluence space paths.
Site URL - 08.A2
Atlassian // Open API tokens.
Open Profile → Account settings → Security → Create and manage API tokens.
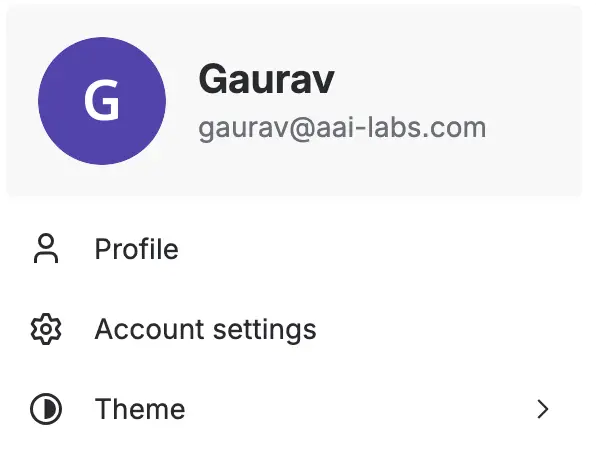
Account settings 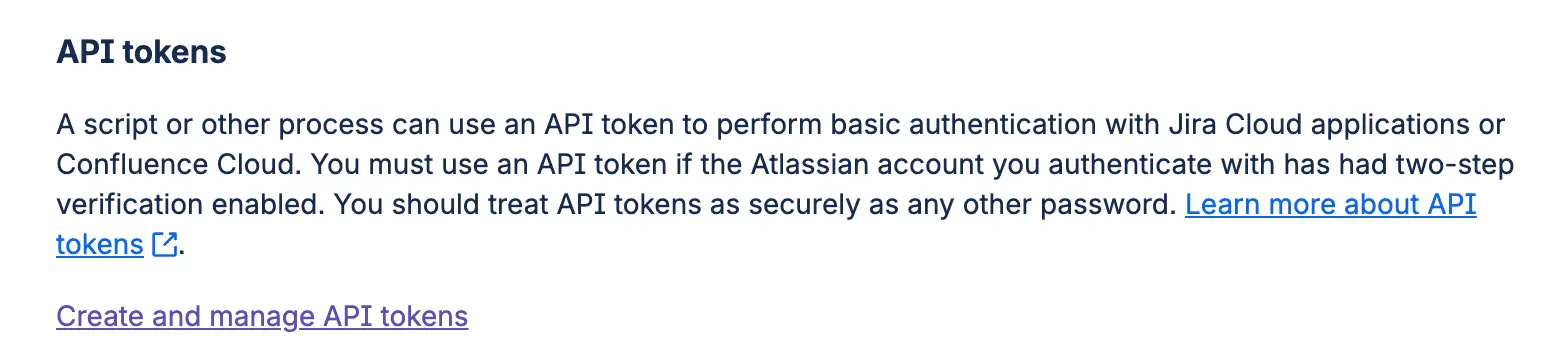
API token manager - 08.A3
Atlassian // Create the matching token type.
Choose standard or scoped, use the same authentication type in Agent Barn, add a name and expiration, then copy the value.
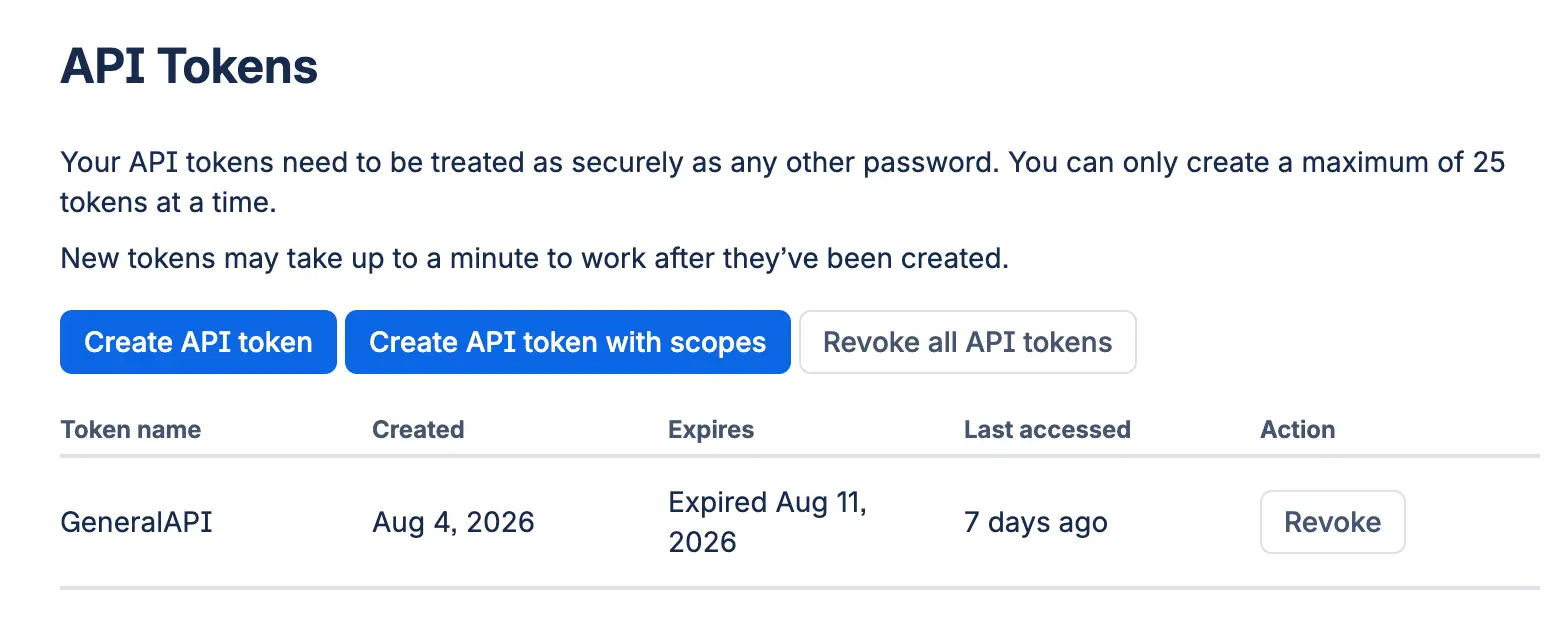
Choose token type 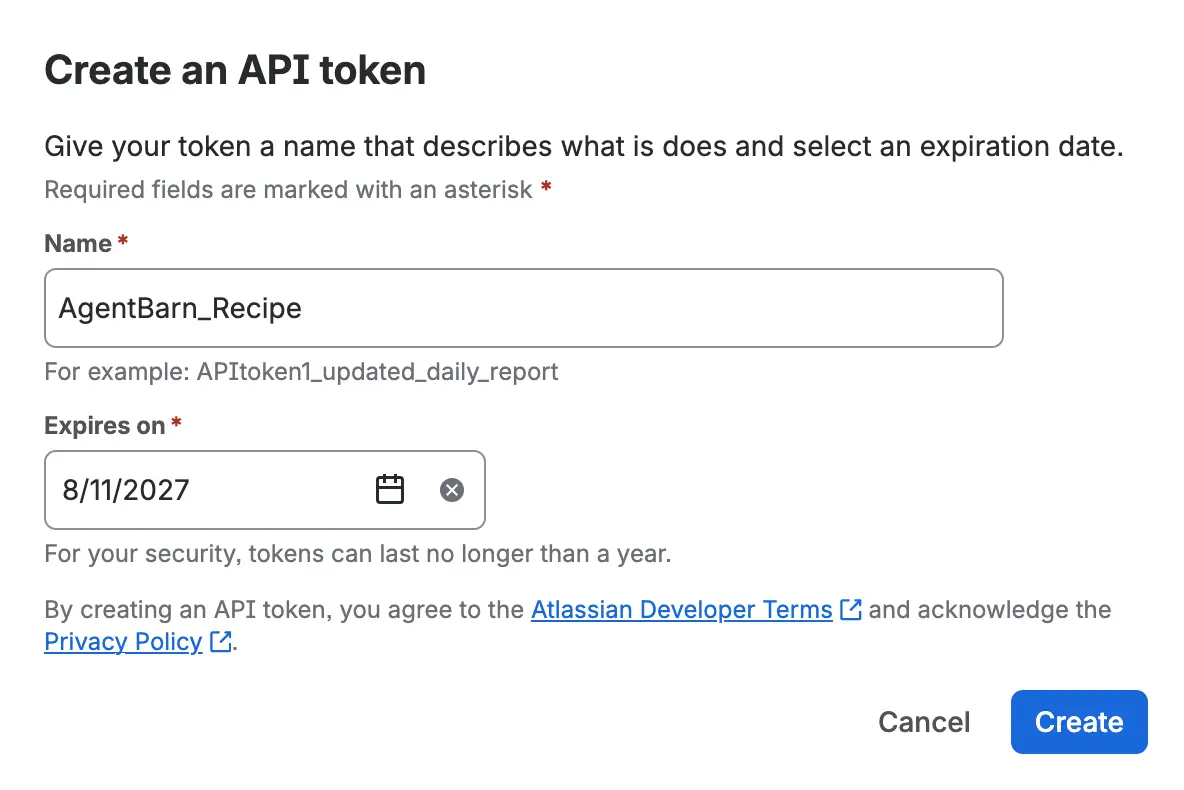
Name · expiration · create - 08.A4
Atlassian // Complete the credential.
SITE URLAtlassian site origin.
AUTHENTICATION TYPEMatch the token type.
EMAILAtlassian account email.
API TOKENCopied token value.
- 08.A5
Atlassian // Validate the product boundary.
Test one permitted Jira project or Confluence space for every connected product, then confirm a location outside the configured boundary remains unavailable.
- 08.Z
Test every selected integration.
Run one expected action for each skill and confirm resources outside the selected boundary remain unavailable.
Verify the complete recipe.
- The existing Slack app connects with both Slack values.
- The app responds in an allowed channel.
- A destination outside the selected access rule receives no response.
- Each required integration completes one representative task.
- The command-approval and response-detail choices behave as selected.
- The configured trigger runs: A teammate submits a request in an allowed Slack channel or direct message.
- The result follows Read request → Structure work → Check gaps → File task.
- The review rule is applied: Use project-specific required fields and keep any consequential prioritization or assignment with the responsible team.
Jira Task Helper is ready for a controlled pilot.
Start with a narrow audience and reversible work, then widen access after observing representative tasks.
Return to recipes →